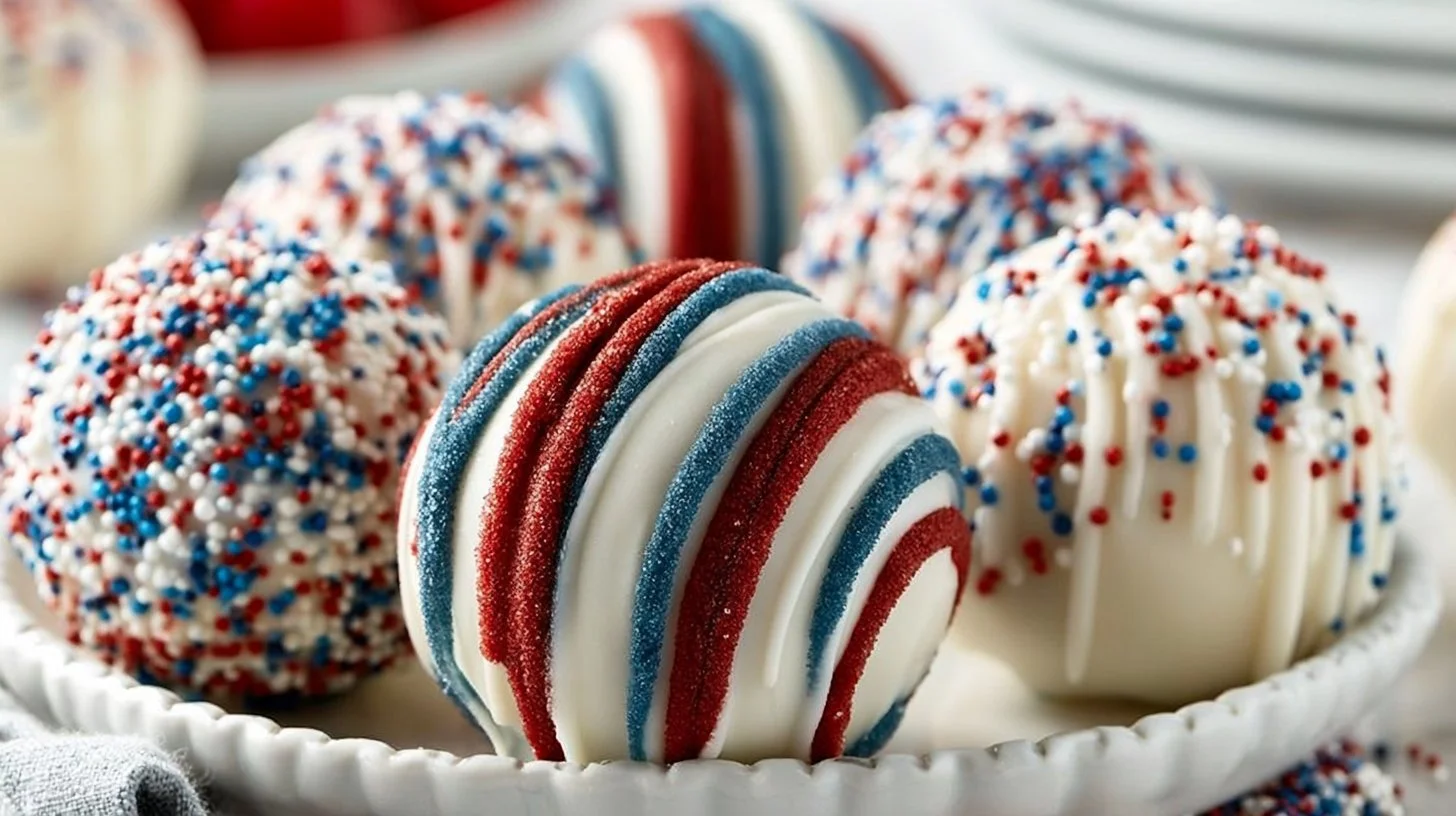
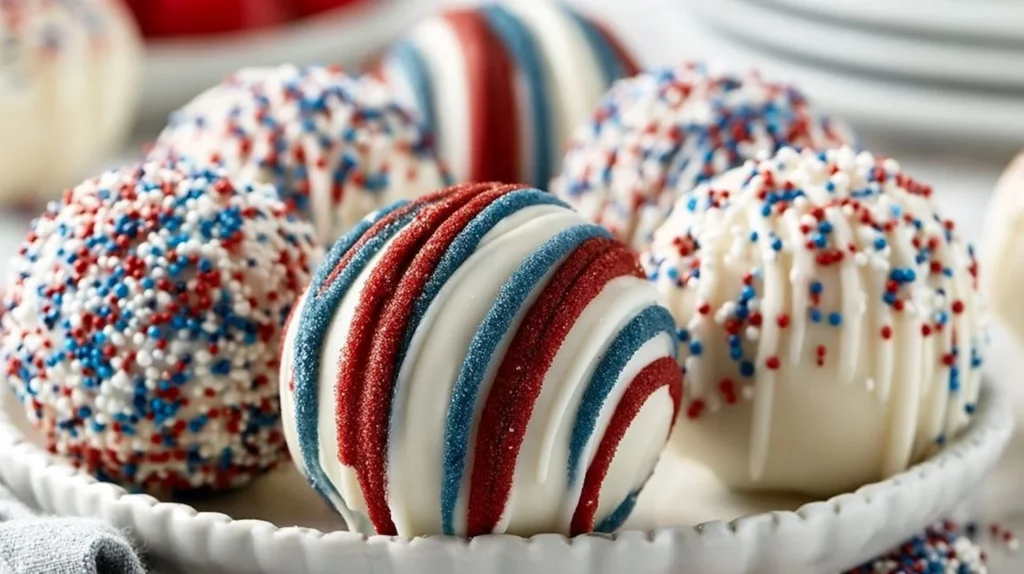
Red, White, and Blue Cake Balls are a delightful treat that embodies the spirit of celebration, perfect for summer gatherings, Fourth of July picnics, or any occasion that calls for a touch of festive flair. These colorful cake balls are not only visually appealing but also burst with a luscious cream cheese filling encased in a smooth white chocolate shell. Imagine the joy on your family and friends’ faces as they bite into these delicious bites—soft, sweet, and inviting. With their vibrant colors and creamy texture, these cake balls are sure to be a hit, bringing both joy and deliciousness to any gathering.
Why You’ll Love This Recipe
- Easy to Make: Simple enough for beginners and a fun project for kids.
- Perfect for Celebrations: Vibrant colors make them ideal for summer events or patriotic holidays.
- Deliciously Creamy: The cream cheese adds richness that pairs beautifully with the sweet white chocolate.
- Make-Ahead Friendly: Prepare them in advance for stress-free entertaining.
- Customizable: Use different colors or decorations for other occasions, making them versatile year-round.
- Fun Presentation: Their whimsical look is sure to grab attention and spark conversations at your next gathering.
What Makes This Recipe Special
The charm of Red, White, and Blue Cake Balls lies not only in their festive appearance but also in their delightful flavor profile. The base starts with a classic white cake mix, providing a light and fluffy texture that’s simply irresistible. When crumbled and combined with soft cream cheese, the cake transforms into a creamy and indulgent treat. Coloring the cake mixture with red and blue food coloring not only enhances its visual appeal but also adds a playful touch. Finally, the white melting chocolate coating ties everything together, adding a smooth, sweet layer that makes every bite feel like a celebration.
Ingredients
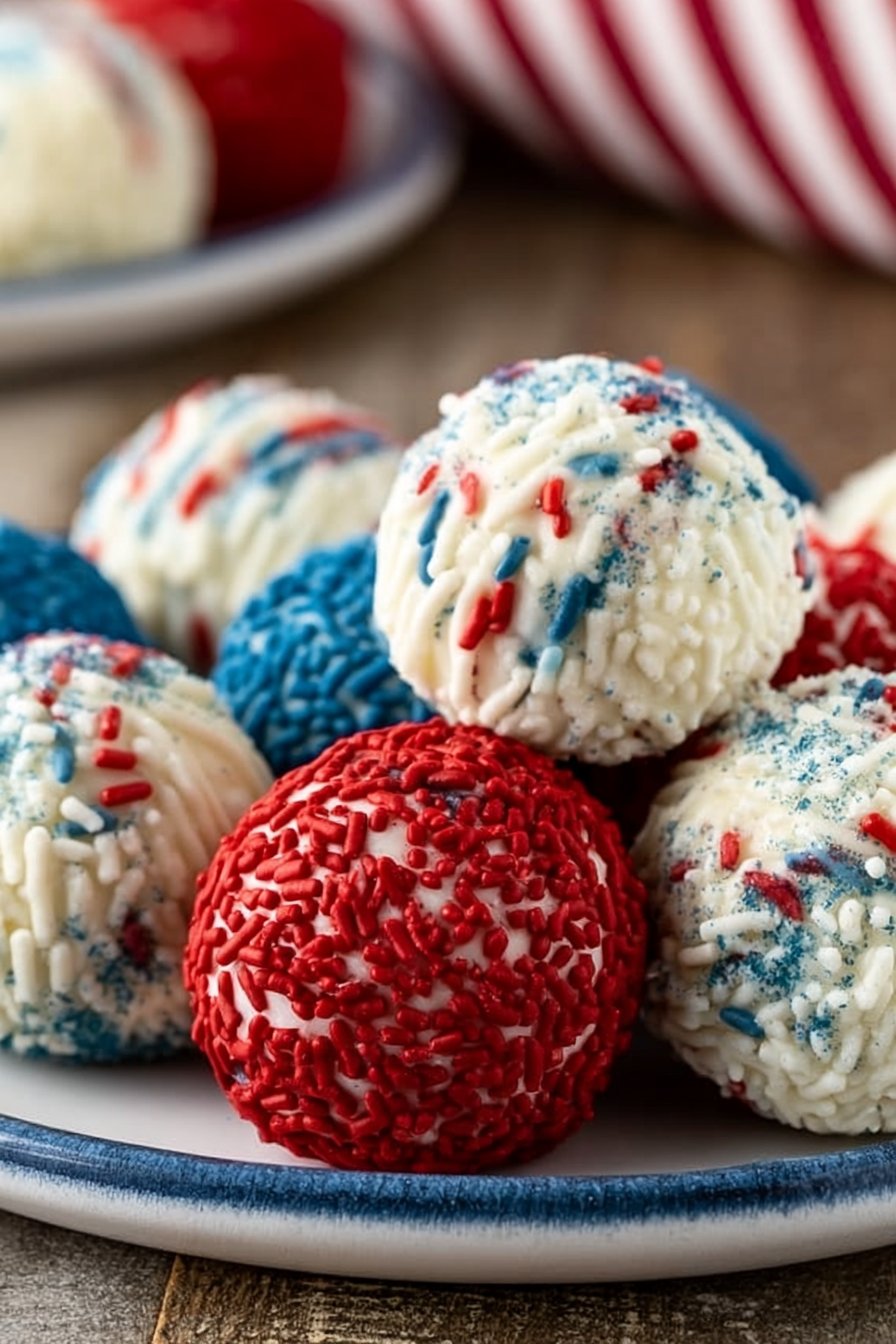
- 1 (15.25-ounce) white cake mix
- Ingredients on box needed to make it (usually eggs, oil, and water)
- Red and blue food coloring
- 1 (8-ounce) block of cream cheese, softened
- 1 (10-ounce) package of white melting chocolate
- Red, white, and blue sprinkles
These ingredients come together to create a festive treat that’s both flavorful and visually striking. The white cake mix provides a simple base, while cream cheese contributes an irresistible richness. The white melting chocolate serves as a perfect coating, enhancing the overall sweetness.
Ingredient Notes and Easy Substitutions
- Cake Mix: Boxed white cake mix is used for simplicity, but you can use homemade white cake if you prefer.
- Food Coloring: Gel food coloring works best for vibrant colors without altering the cake’s moisture. Liquid food coloring can also be used but may require more to achieve a bright hue.
- Cream Cheese: For a lighter option, you can substitute with low-fat cream cheese or even Greek yogurt for a tangy twist.
Instructions
- Preheat your oven according to the instructions on the cake mix box. Prepare your cake pans as directed by greasing them or lining them with parchment paper.
- Mix the cake batter by following the box instructions; do not add food coloring at this stage. Stir until well combined.
- Pour the batter into the prepared pan and bake until golden brown, generally around 25 to 30 minutes, checking with a toothpick until it comes out clean.
- Cool the cake in the pan for about 10-15 minutes. Then, transfer it to a wire rack to cool completely.
- Crumble the cooled cake into small crumbs, separating them into two bowls. You will use one for red and the other for blue.
- Add red and blue food coloring to the respective bowls, mixing until you’ve achieved the desired richness in color.
- Create the cake mixture by adding half of the softened cream cheese to each bowl, blending thoroughly until combined.
- Form small balls of the cake mixture using a tablespoon or cookie scoop, rolling them into uniform sizes.
- Chill the cake balls on a lined baking sheet for about an hour in the fridge to set.
- Melt the white chocolate according to package instructions until smooth.
- Dip each chilled cake ball into the melted chocolate, ensuring it is fully coated.
- Add sprinkles immediately after coating to ensure they adhere well.
- Chill again for about 30 minutes to set the chocolate shell.
Expert Tips for the Best Results
- Don’t Overmix the Cake Batter: Be sure to mix the batter just until everything comes together to keep it light and fluffy.
- Chill Thoroughly: Make sure the cake balls are fully chilled before dipping; this helps them maintain shape during the coating process.
- Use a Quality White Chocolate: A good-quality melting chocolate will make a difference in flavor and presentation.
Variations
- Chocolate Cake Balls: Substitute the white cake mix with chocolate cake mix for an indulgent twist.
- Flavor Additions: Incorporate almond or vanilla extract into the cake batter for an extra layer of flavor.
- Different Colors: Customize for other holidays by using green and orange for Halloween, or pastels for Easter.
- Seasonal Sprinkles: Change up the sprinkles to match the theme of your event.
Serving Suggestions
Serve your Red, White, and Blue Cake Balls on a beautiful platter for a stunning presentation. Pair them with vanilla ice cream or a refreshing fruit salad for a sweet summer dessert spread. They also make a lovely treat alongside cold drinks like lemonade or iced tea.
Storage and Reheating
Store leftover cake balls in an airtight container in the refrigerator for up to one week. They can also be frozen for up to three months. To enjoy frozen cake balls, simply let them thaw in the fridge overnight before serving.
Common Mistakes to Avoid
- Skipping the Cooling Step: Make sure the cake is completely cooled before crumbling; this prevents the mixture from becoming too mushy.
- Ignoring the Chocolate Setting Time: Allow the chocolate to set fully before serving to ensure the cake balls maintain their shape.
FAQ
Can I make these cake balls ahead of time?
Absolutely! These cake balls can be made several days in advance and stored in the fridge. Just ensure they’re well-covered to maintain freshness.
What if I don’t have white melting chocolate?
You can easily substitute with regular chocolate chips or any candy melts that you prefer. Just be sure to melt them gently to avoid burning.
Can I use a different flavor of cake mix?
Yes! While this recipe uses white cake mix, you can swap it for any flavor, such as vanilla or even chocolate, based on your taste preference.
How do I store leftover cake balls?
Store them in an airtight container in the refrigerator for up to one week or freeze for up to three months.
Can I change the colors for other holidays?
Absolutely! You can change the food coloring and sprinkles to suit any holiday or occasion, making these cake balls versatile year-round.
Conclusion
Red, White, and Blue Cake Balls are a delightful addition to any celebration, combining flavor, creativity, and ease of preparation. Their fun appearance and delicious taste make them a perfect choice for summer gatherings or festive holidays. Enjoy making these indulgent treats, and don’t hesitate to share this recipe with friends and family so they can join in the fun. Whether you’re celebrating with a picnic or simply enjoying a quiet moment at home, these cake balls are sure to bring a smile to your face. Make them, share them, and savor every delicious bite!
Red, White, and Blue Cake Balls
Ingredients
Method
- Preheat your oven according to the instructions on the cake mix box and prepare the cake pans as directed.
- Mix the cake batter by following the box instructions; do not add food coloring at this stage. Stir until well combined.
- Pour the batter into the prepared pan and bake for 25 to 30 minutes, checking with a toothpick until it comes out clean.
- Cool the cake in the pan for 10-15 minutes, then transfer to a wire rack to cool completely.
- Crumble the cooled cake into small crumbs and separate them into two bowls for red and blue.
- Add red food coloring to one bowl and blue food coloring to the other, mixing until the desired richness in color is achieved.
- Add half of the softened cream cheese to each bowl, blending thoroughly until combined.
- Form small balls of the cake mixture using a tablespoon or cookie scoop, rolling them into uniform sizes.
- Chill the cake balls on a lined baking sheet for about an hour in the fridge.
- Melt the white chocolate according to package instructions until smooth.
- Dip each chilled cake ball into the melted chocolate, ensuring it is fully coated.
- Add sprinkles immediately after coating to ensure they adhere well.
- Chill again for about 30 minutes to set the chocolate shell.