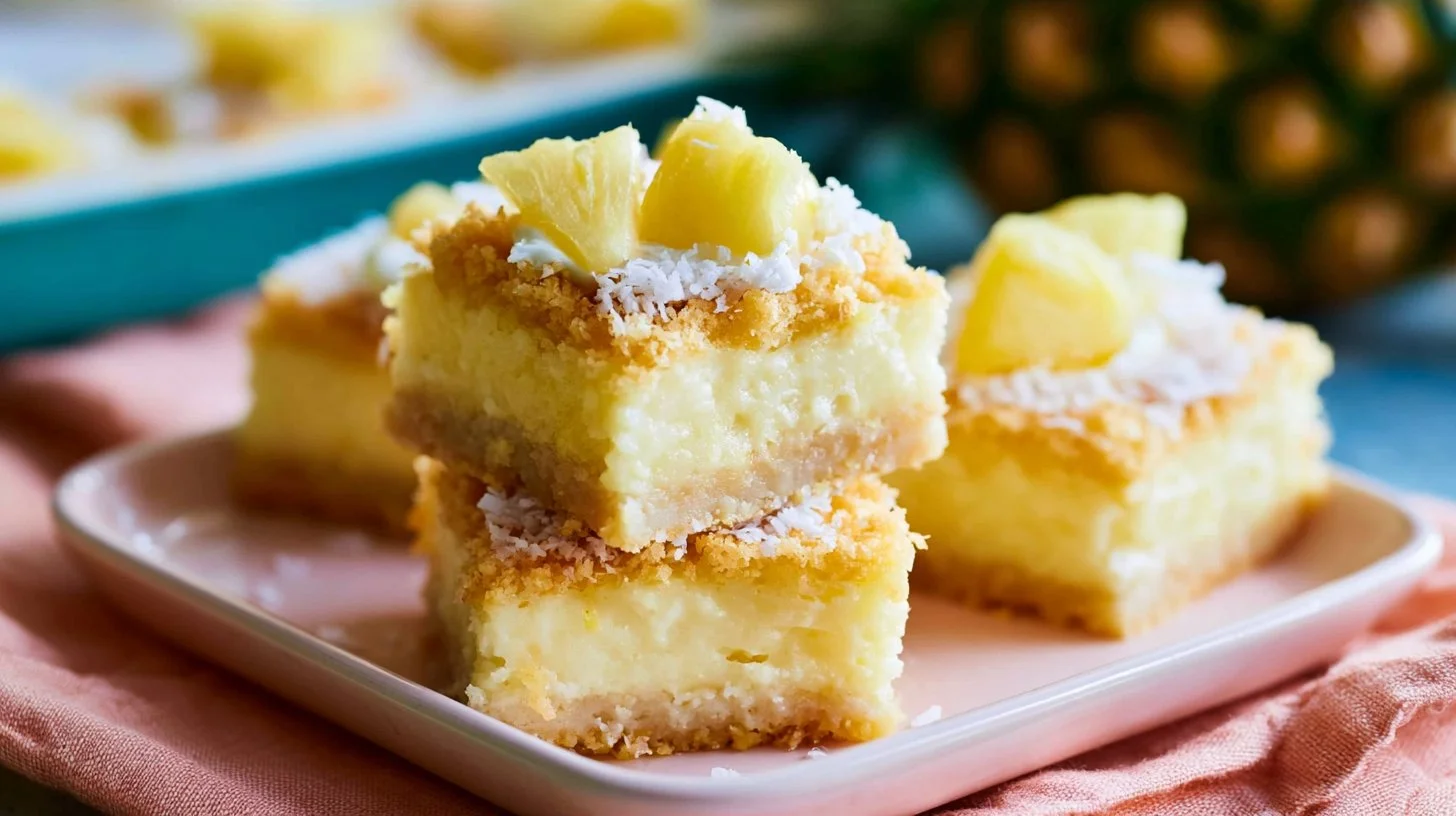
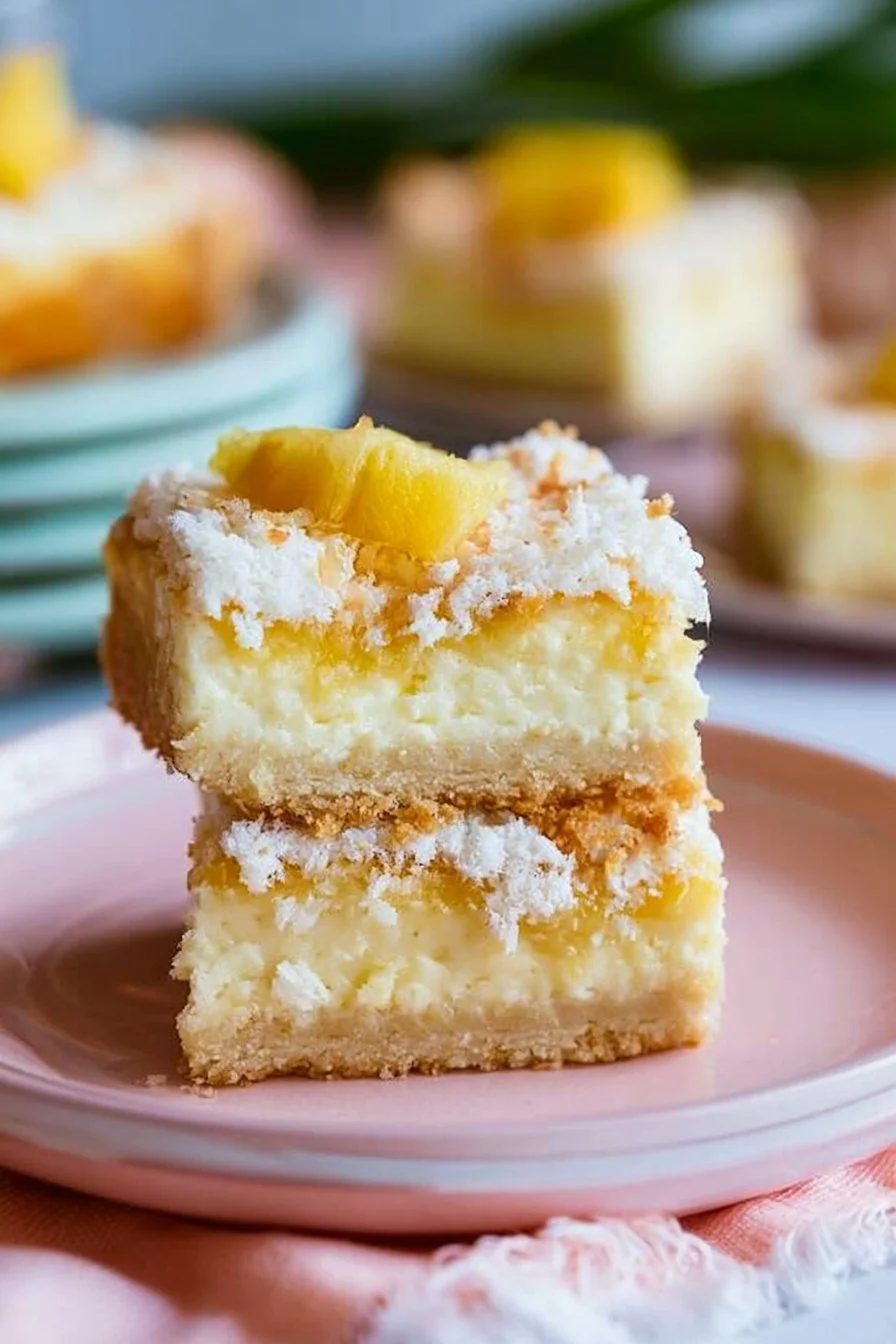
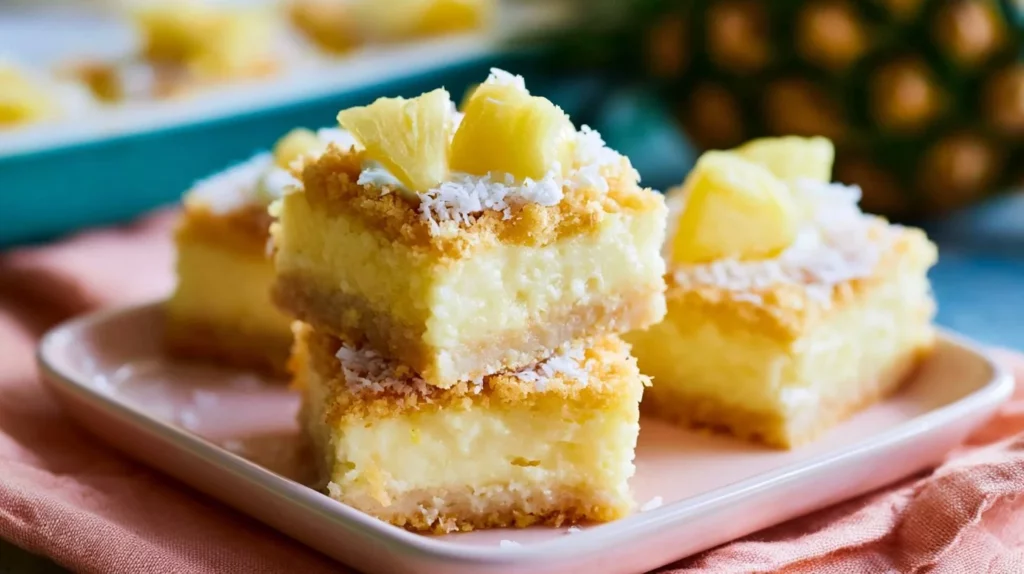
Hawaiian Cheesecake Bars are a delightful way to enjoy the tropical flavors of the Islands without leaving your kitchen. These luscious bars feature a creamy, rich cheesecake layer infused with sweet, juicy pineapple and a crunchy coconut topping. The buttery crust complements the velvety filling, creating a dessert that’s perfect for gatherings, summer parties, or simply indulging your sweet tooth. Whether you’re spending a day at the beach or hosting a backyard barbecue, Hawaiian Cheesecake Bars will transport you to paradise with each bite.
Not only do these bars pack an irresistible flavor punch, but they’re also surprisingly easy to make and are sure to impress your friends and family. The combination of cream cheese, crushed pineapple, and shredded coconut brings a unique twist on traditional cheesecake, giving a nod to the vibrant flavors of Hawaiian cuisine. You’ll love how the creamy filling contrasts with the crispy topping, creating a satisfying texture perfect for any occasion.
Why You’ll Love This Recipe
- Tropical Goodness: These bars highlight the delightful flavors of pineapple and coconut, offering a taste of the tropics anytime you crave it.
- Easy to Make: The simple, straightforward steps make this an accessible recipe for bakers of all skill levels.
- Make-Ahead Magic: These cheesecake bars can be made in advance, making them ideal for meal prep or last-minute gatherings.
- Versatile Treat: Perfect for summer picnics, birthday parties, or even as a sweet treat during the holidays.
- Freezable Delight: Get to enjoy these bars whenever a craving strikes, as they freeze beautifully!
What Makes This Recipe Special
The combination of ingredients in these Hawaiian Cheesecake Bars sets them apart from standard desserts. The crust, made of flour, sugar, and butter, forms a perfect base that’s both buttery and slightly crumbly. The heart of the bars is the cream cheese mixture, which, after being beaten to a smooth consistency, is combined with sugar, eggs, and vanilla, thus elevating the taste profile. The star ingredient, crushed pineapple, adds moisture and natural sweetness, while the shredded coconut provides a sweet, chewy texture that rounds out each bite. Together, these flavors create a tropical experience that you won’t forget.
Ingredients
- 2 cups flour
- 1 cup granulated sugar
- 1 cup salted butter, room temperature
- 16 ounces cream cheese, room temperature
- 1/4 cup granulated sugar
- 2 eggs
- 2 teaspoons vanilla extract
- 16 ounces crushed pineapple, well drained
- 2 cups shredded sweetened coconut
- 2 tablespoons salted butter, melted
Ingredient Notes and Easy Substitutions
- Butter: You can substitute with unsalted butter if you prefer to control the saltiness of your bars.
- Coconut: Feel free to use unsweetened coconut if you want to lower the sweetness or opt for toasted coconut for added flavor and crunch.
- Cream Cheese: Neufchâtel cheese can be used for a lighter version without compromising on creaminess.
- Pineapple: Fresh pineapple can be used if you prefer a less sweet and more natural flavor.
Instructions
- Preheat your oven to 350 degrees F.
- In a large mixing bowl, combine the flour, granulated sugar, and softened butter until the mixture is well combined and crumbly.
- Press this mixture evenly into an ungreased 9 X 13-inch baking pan. Bake in the oven for 14-19 minutes until lightly golden. Remove and let cool slightly while preparing the filling.
- In another bowl, beat the cream cheese until smooth. Gradually add in the 1/4 cup sugar, eggs, and vanilla extract, mixing well after each addition.
- Stir in the drained crushed pineapple until evenly distributed. Spread this cheesecake mixture over the baked crust.
- In a separate bowl, combine the shredded coconut with the melted butter until well mixed. Sprinkle evenly over the pineapple layer.
- Cover the pan loosely with tinfoil and return it to the oven. Bake for 25 minutes. Remove the tinfoil and bake for an additional 15-20 minutes until the coconut is well browned and toasted.
- Allow the bars to cool completely before slicing. These bars freeze exceptionally well, so feel free to make a batch for enjoyment anytime!
Expert Tips for the Best Results
- Room Temperature Ingredients: Always ensure your cream cheese and eggs are at room temperature for the smoothest batter.
- Don’t Rush Cooling: Allowing the bars to cool completely ensures that they slice into neat squares without falling apart.
- Use Fresh Pineapple: If available, using fresh pineapple can elevate the flavor profile of your bars.
- Toast the Coconut: To enhance the nutty flavor, consider toasting the coconut before adding it to the bars.
Variations
- Chocolate Drizzle: Add a drizzle of melted chocolate on top for a decadent touch.
- Gluten-Free Option: Replace all-purpose flour with gluten-free flour for a delightful gluten-free treat.
- Fruity Additions: Mix in some macadamia nuts or chopped mango for added texture and flavor.
- Savory Twist: Incorporate some lime zest into the cheesecake filling for a zesty kick.
Serving Suggestions
Serve Hawaiian Cheesecake Bars chilled, alongside a refreshing tropical drink such as iced tea or coconut water. They are great on their own, but you could also top them with whipped cream or a scoop of vanilla ice cream for an extra indulgent experience. Garnish with a pineapple slice or a sprinkling of toasted coconut flakes for a beautiful presentation.
Storage and Reheating
Store any leftovers in an airtight container in the refrigerator for up to a week. These bars freeze exceptionally well; wrap them tightly and place them in the freezer for up to three months. To enjoy, simply thaw in the refrigerator overnight and serve chilled.
Common Mistakes to Avoid
- Overmixing the Batter: This can create a dense texture; mix just until combined for best results.
- Not Draining Pineapple: Make sure to drain the crushed pineapple thoroughly to avoid a soggy filling.
FAQ
Can I make these bars gluten-free?
Yes! Substitute the regular flour for a gluten-free flour blend.
How should I store leftovers?
Store in an airtight container in the refrigerator for up to a week.
Can I freeze Hawaiian Cheesecake Bars?
Absolutely! Wrap them tightly and freeze for up to three months.
What happens if I can’t find sweetened coconut?
Unsweetened coconut works too, just adjust the sugar in the crust or filling if necessary.
How do I know when the coconut is toasted?
It should be golden brown and fragrant. Keep a close eye on it toward the end of the baking time to prevent burning.
Can I use fresh pineapple instead of canned?
Yes, but ensure you chop it finely and drain the excess juice.
Conclusion
Hawaiian Cheesecake Bars are a delightful blend of creamy, tropical flavors that will transport your taste buds straight to the islands. They’re easy to prepare, make ahead beautifully, and are perfect for any gathering or just for enjoying at home. So why wait? Gather your ingredients and get ready to indulge in this sumptuous dessert. Make sure to share your delicious creations and encourage your loved ones to make their own – these bars are definitely worth sharing!
Hawaiian Cheesecake Bars
Ingredients
Method
- Preheat your oven to 350 degrees F.
- In a large mixing bowl, combine the flour, granulated sugar, and softened butter until the mixture is well combined and crumbly.
- Press this mixture evenly into an ungreased 9 X 13-inch baking pan. Bake in the oven for 14-19 minutes until lightly golden. Remove and let cool slightly while preparing the filling.
- In another bowl, beat the cream cheese until smooth. Gradually add in the 1/4 cup sugar, eggs, and vanilla extract, mixing well after each addition.
- Stir in the drained crushed pineapple until evenly distributed. Spread this cheesecake mixture over the baked crust.
- In a separate bowl, combine the shredded coconut with the melted butter until well mixed. Sprinkle evenly over the pineapple layer.
- Cover the pan loosely with tinfoil and return it to the oven. Bake for 25 minutes. Remove the tinfoil and bake for an additional 15-20 minutes until the coconut is well browned and toasted.
- Allow the bars to cool completely before slicing. These bars freeze exceptionally well, so feel free to make a batch for enjoyment anytime!