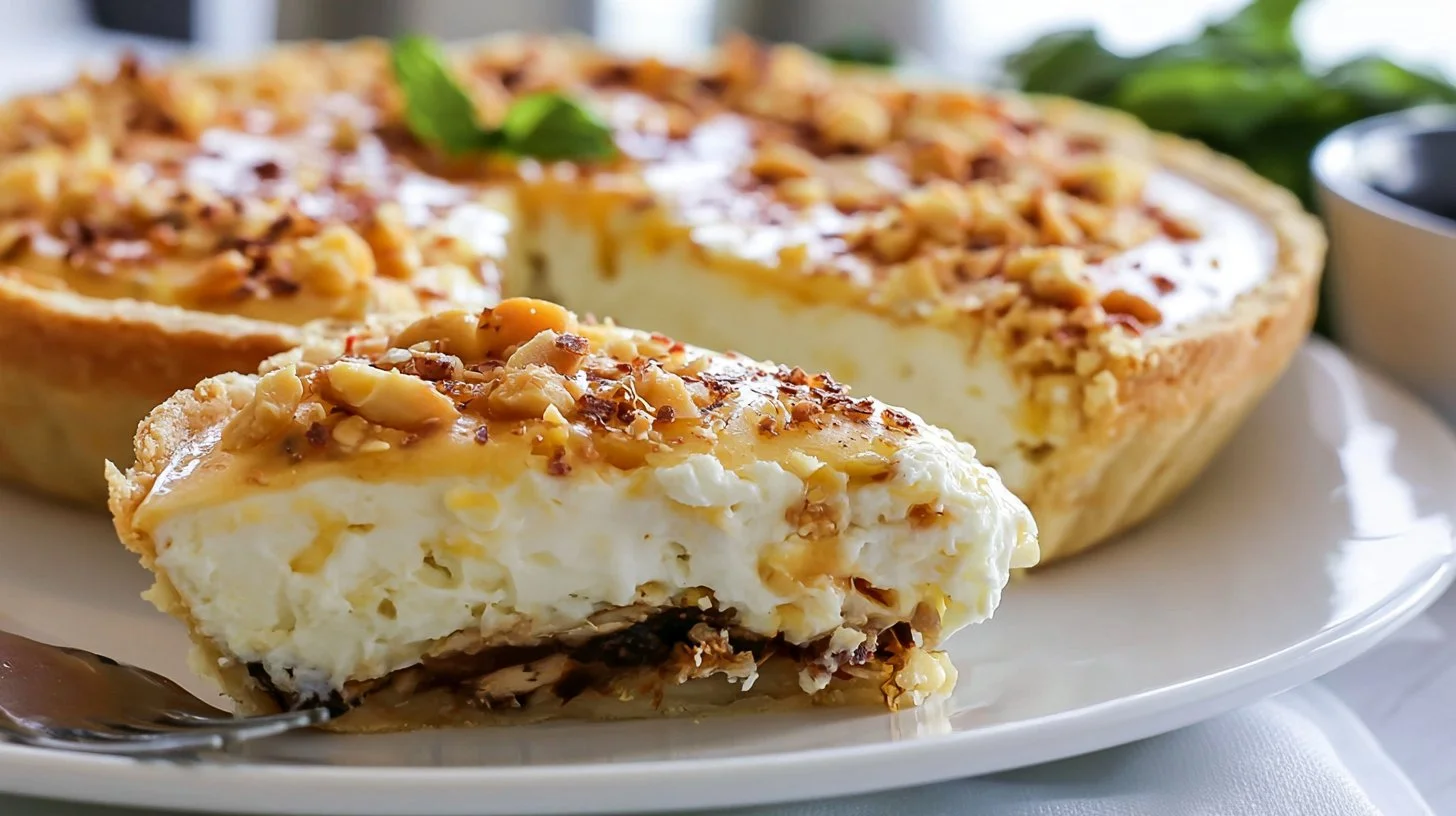
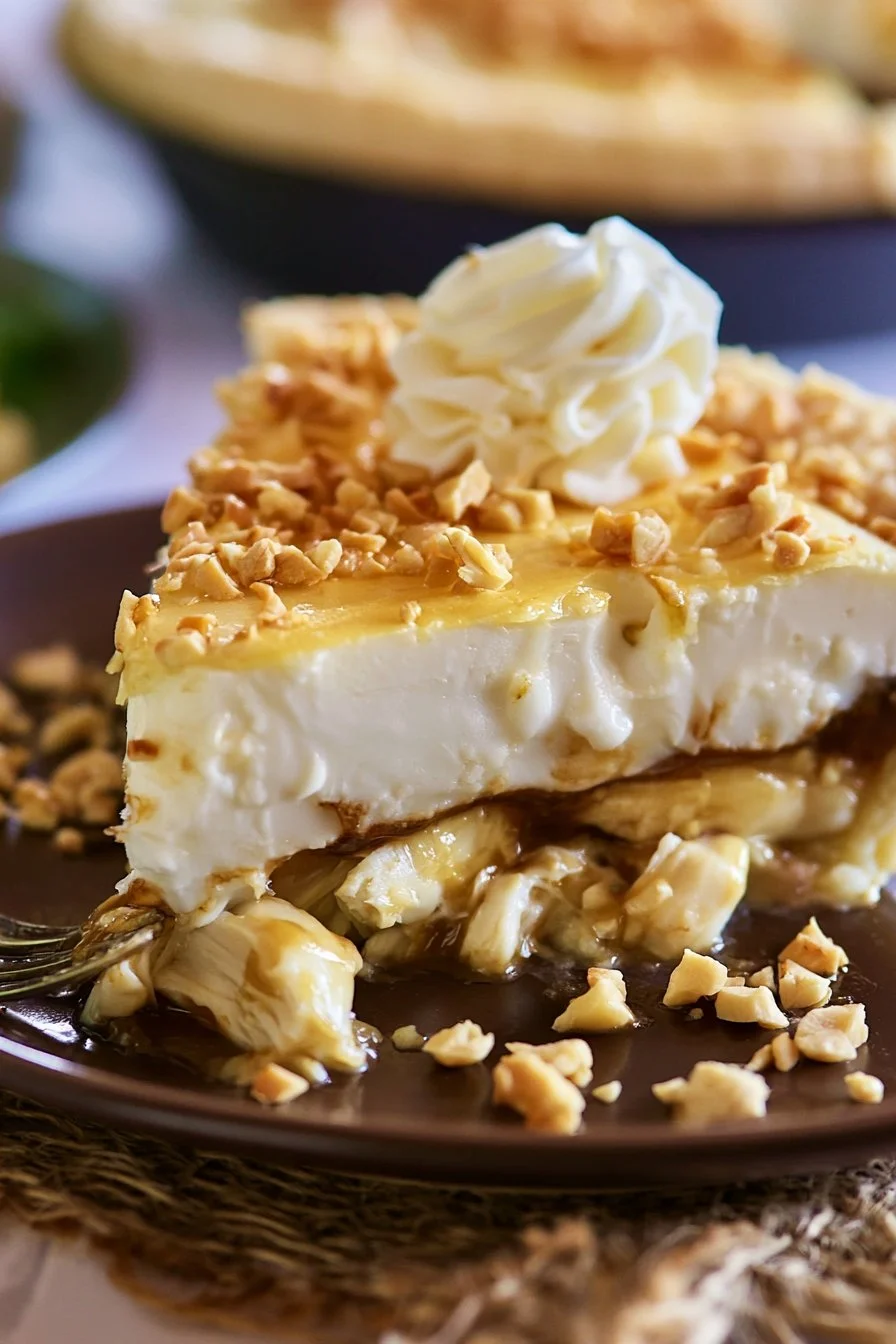
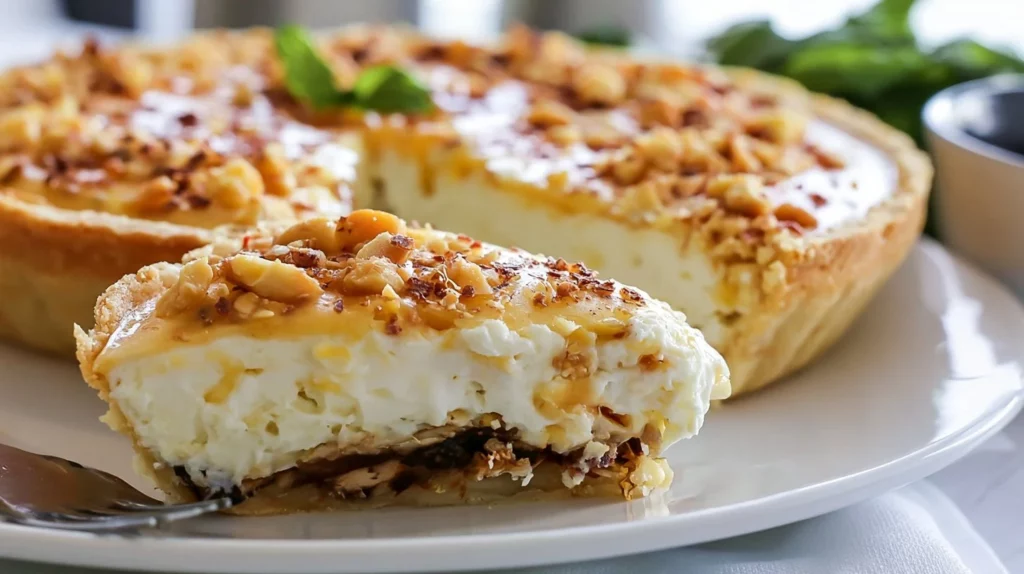
Indulging in dessert is always a treat, and there’s something especially delightful about an Easy Drumstick Pie. This indulgent frozen treat captures the nostalgic flavors of a classic drumstick ice cream cone but elevates it into a delectable pie that’s perfect for sharing (or not!). This pie features a nutty sugar cone crust filled with creamy vanilla ice cream and heavenly drizzles of chocolate and caramel that will have everyone cheering for a second slice. Perfect for summer picnics, birthday parties, or simply a cozy night at home, this Easy Drumstick Pie is both simple to make and wonderfully satisfying.
Whether it’s after dinner or as a special afternoon snack, this dessert brings joy and evokes memories of childhood treats. The unique combination of textures from the crunchy crust, smooth ice cream, and rich toppings creates a symphony of flavors with every bite. Get ready to impress your friends and family with this no-bake concoction that feels like a gourmet dessert but is surprisingly easy to whip up.
Why You’ll Love This Recipe
- Simplicity: With just a few ingredients and a little bit of time, you can create an impressive dessert that looks as delicious as it tastes.
- Flavor Explosion: The combination of vanilla ice cream with chocolate and caramel is a beloved flavor trio, evoking sweet memories and smiles all around.
- Make-Ahead Convenience: Easy Drumstick Pie can be made ahead of time, allowing you to spend quality time with your guests instead of slaving in the kitchen.
- Family-Friendly Appeal: Children and adults alike will love this treat, making it a perfect recipe to share at family gatherings or parties.
- Endless Customization: This pie serves as a base that you can easily tweak with various additional toppings or flavors to suit your preferences.
What Makes This Recipe Special
Easy Drumstick Pie stands out thanks to its delightful mix of textures and flavors that fans of classic ice cream cones will adore. The sugar cone crust lends a comforting crunch that beautifully contrasts with the creamy vanilla ice cream. Layering in the chocolate and caramel sauces not only adds an extra depth of flavor but also creates a show-stopping visual appeal. The chopped peanuts sprinkle on top add an additional textural crunch and nuttiness, making every slice a delightful experience. This dessert is not only visually stunning but also incredibly satisfying, balancing sweetness and creaminess while providing that beloved nostalgic charm.
Ingredients
- 5 ounces sugar cones (about 12 cones)
- 6 Tablespoons butter, melted
- 1/2 cup Smucker’s Magic Shell, divided
- 1 quart vanilla ice cream
- 1/4 cup caramel sauce
- 1/4 cup peanuts, chopped
Ingredient Notes and Easy Substitutions
- Sugar Cones: The classic base for this pie, sugar cones create that authentic drumstick flavor and crunch. If you want something a bit different, feel free to use waffle cones for a contrasting texture and flavor.
- Butter: Unsalted butter is preferred as it allows you to control the saltiness. If you’re looking for a dairy-free option, coconut oil can be a great substitute.
- Magic Shell Chocolate: This product adds an instant chocolate layer, but if you prefer, you can melt chocolate chips or dark chocolate to drizzle over the crust and pie, although it may not set as firm.
- Vanilla Ice Cream: While vanilla is a classic choice, consider using chocolate or strawberry ice cream for a fun twist!
- Caramel Sauce: Any store-bought caramel will work perfectly. For a homemade touch, a simple caramel recipe can be made on the stovetop as well.
- Peanuts: Chopped nuts lend wonderful crunch; feel free to swap them for almonds, pecans, or even sprinkle on some crushed pretzels for an extra salty-sweet contrast.
Instructions
-
Prepare the Crust: Begin by breaking apart all 12 sugar cones and placing them into a food processor. Pulse until they form coarse crumbs. Pour in the melted butter and pulse until the mixture is well combined.
-
Form the Crust: Press the mixture into the bottom of an 8-inch round springform pan, creating an even layer. Once pressed, place the crust in the freezer for 10 to 15 minutes to set.
-
Add Magic Shell: After the crust has chilled, remove it from the freezer and drizzle half of the Smucker’s Magic Shell over the top. Spread it evenly and return the crust to the freezer for another 10 minutes.
-
Ice Cream Layer: While the crust is chilling, remove the vanilla ice cream from the freezer so it can soften a bit for easier spreading. Once the crust has chilled, press half of the softened vanilla ice cream over the chocolate-covered crust, smoothing it out with a spatula. Freeze again for another 10 to 15 minutes.
-
Caramel Layer: After the ice cream has set slightly, take the pie out of the freezer again and drizzle the caramel sauce over the ice cream, spreading it toward the edges. Return to the freezer for another 10 to 15 minutes.
-
Final Ice Cream Layer: Once set, spread the remaining half of the vanilla ice cream over the caramel layer, ensuring an even distribution. Place the pie back in the freezer for at least 30 minutes or until the ice cream has set firmly.
-
Final Touches: Just before serving, drizzle the remaining Smucker’s Magic Shell over the top and spread out evenly. Sprinkle chopped peanuts generously over the chocolate layer. Return the pie to the freezer until ready to serve, at least one hour.
-
Serve: When you’re ready to enjoy this delightful dessert, run a knife around the edges of the springform pan before removing the sides. Slice into wedges and serve. Leftover slices can be stored in the freezer for later enjoyment.
Expert Tips for the Best Results
- Chill Properly: Make sure each layer has enough time in the freezer to set properly; this will help maintain the structural integrity of the pie.
- Use Quality Ingredients: Whether it’s the ice cream or the chocolate sauce, using high-quality products will enhance the flavors of the pie.
- Work Quickly with Magic Shell: This product sets up quickly, so be ready to spread it as soon as you pour it on.
Variations
- Mint Chocolate Chip Drumstick Pie: Use mint chocolate chip ice cream instead of vanilla and add crushed peppermint candies on top.
- Peanut Butter Chocolate Layer: Before spreading the ice cream, add a layer of peanut butter to the crust for a nutty flavor explosion.
- Fruit Layer: Incorporate chopped fresh strawberries or bananas into your vanilla ice cream layer for a fruity twist.
- S’mores Drumstick Pie: Replace the chocolate shell with a s’mores topping version by using crushed graham crackers and mini marshmallows.
- Mocha Delight: Swap some of the vanilla ice cream with coffee-flavored ice cream for a caffeinated twist.
Serving Suggestions
Serve this Easy Drumstick Pie with a drizzle of hot fudge or additional caramel sauce for extra decadence. It pairs beautifully with fresh fruit, which can balance the richness of the pie. Creamy whipped topping can also be a delightful addition. If you’re hosting a party, consider making mini versions in individual cups for a cute presentation.
Storage and Reheating
Leftovers should be stored in the freezer in an airtight container or wrapped well to prevent freezer burn. This pie can last up to two weeks in the freezer, making it a convenient make-ahead dessert option. No reheating is necessary; simply slice and enjoy straight from the freezer.
Common Mistakes to Avoid
- Not Chilling Each Layer: Skipping the freezing time between layers can lead to a messy pie and a hard-to-cut dessert.
- Over-processing the Sugar Cones: Blend only until you have crumbs; too much processing can turn them into powder, which won’t form a proper crust.
- Slicing Too Early: Make sure to let the pie sit in the freezer long enough before slicing to ensure clean edges.
FAQ
Can I make this pie ahead of time?
Absolutely! This Easy Drumstick Pie is perfect for make-ahead occasions. You can assemble it a day or two before, allowing it to set perfectly in the freezer.
What can I substitute for vanilla ice cream?
You can use any ice cream flavor you love! Chocolate, cookie dough, or even a sorbet for a dairy-free alternative can all work well.
How do I store leftover pie?
Keep leftover pie tightly wrapped in the freezer. It will remain good for about two weeks, ensuring that you can enjoy this treat for days to come.
Can I use a different type of nut?
Definitely! If you or your guests have a nut allergy, feel free to leave out the nuts or use sunflower seeds for a similar crunch.
How can I make this pie gluten-free?
To make this delightful dessert gluten-free, simply use gluten-free sugar cones and ensure that all other ingredients, including toppings, are certified gluten-free.
Why is my Magic Shell not hardening?
The Magic Shell needs a cold surface to set; ensure your pie crust and ice cream layers are frozen before drizzling it on. If it’s too warm, it may not firm up properly.
Conclusion
Creating an Easy Drumstick Pie is a delightful way to bring a fun twist to dessert. Its layers of crunchy sugar cone crust, creamy ice cream, and rich chocolate and caramel toppings create a uniquely satisfying experience that is perfect for any occasion. Not only is it easy to make, but it can also be tailored to your tastes and preferences, making it a versatile treat. So gather your ingredients, pull out that springform pan, and get ready to impress your family and friends with this scrumptious dessert. They’ll surely be asking for seconds! Don’t forget to save this recipe for later; it’s guaranteed to become a family favorite.
Easy Drumstick Pie
Ingredients
Method
- Begin by breaking apart all 12 sugar cones and placing them into a food processor. Pulse until they form coarse crumbs.
- Pour in the melted butter and pulse until the mixture is well combined.
- Press the mixture into the bottom of an 8-inch round springform pan, creating an even layer.
- Place the crust in the freezer for 10 to 15 minutes to set.
- After the crust has chilled, drizzle half of the Smucker’s Magic Shell over the top and spread it evenly. Return to the freezer for another 10 minutes.
- Spread half of the softened vanilla ice cream over the chocolate-covered crust, smoothing it out with a spatula. Freeze again for another 10 to 15 minutes.
- Drizzle the caramel sauce over the ice cream, spreading it toward the edges. Return to the freezer for another 10 to 15 minutes.
- Spread the remaining half of the vanilla ice cream over the caramel layer and place back in the freezer for at least 30 minutes until set firmly.
- Before serving, drizzle the remaining Smucker’s Magic Shell over the top and spread out evenly. Sprinkle chopped peanuts generously over the chocolate layer.
- Return the pie to the freezer until ready to serve, at least one hour.
- Run a knife around the edges of the springform pan before removing the sides. Slice into wedges and serve.