
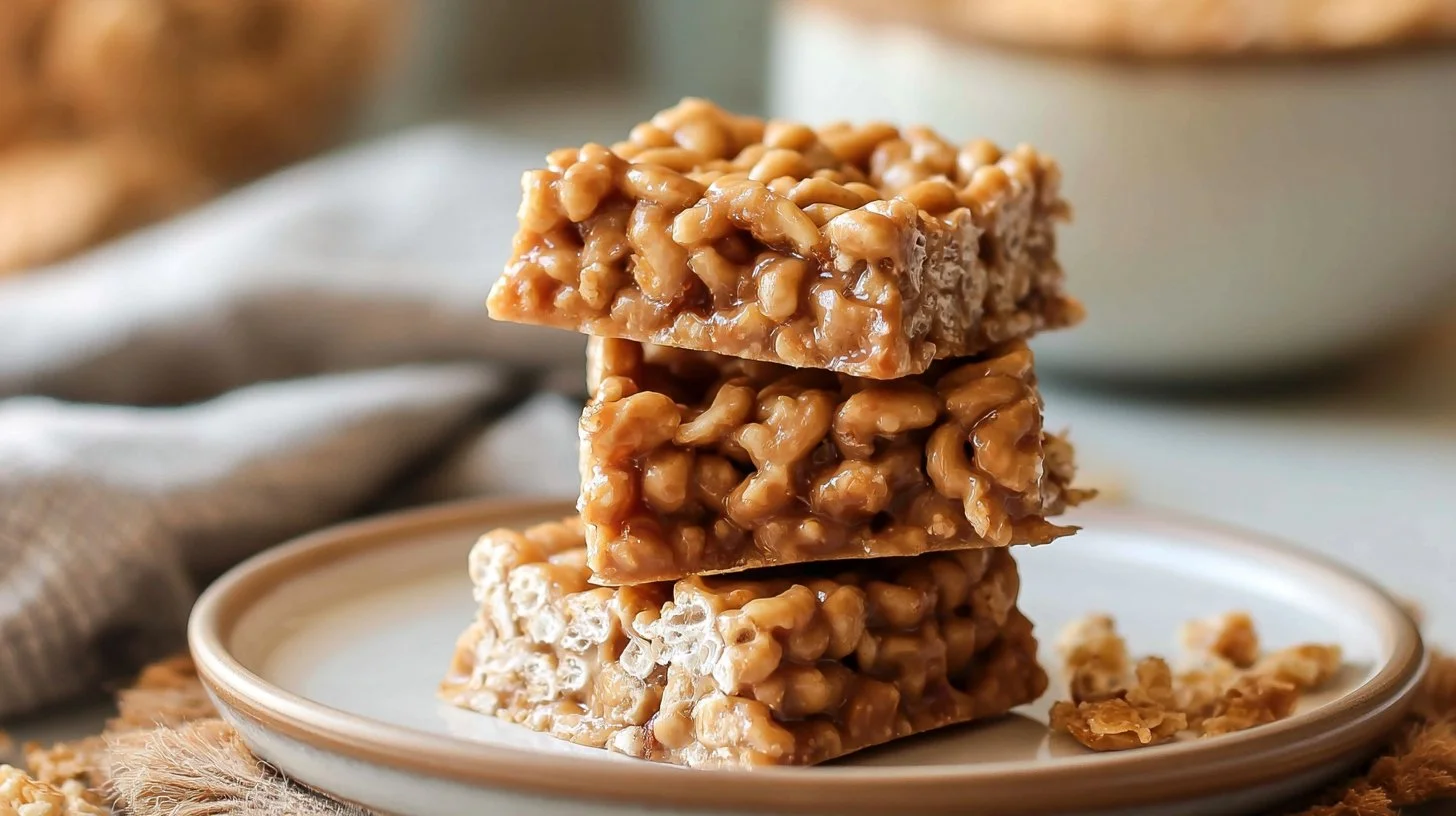
There’s something truly special about a no-bake treat, especially when it boasts just three ingredients. Enter the world of 3 Ingredient, No-Bake Cereal Bars—a delicious, nourishing snack that is perfect for any time of the day. These bars are not only simple to make, but they also offer a delightful combination of flavors and textures that are sure to satisfy your cravings. Imagine biting into a chewy, nutty bar that has a satisfying crunch from the cereal and a hint of sweetness from the honey. They’re great as an afternoon pick-me-up, a quick breakfast on the go, or a post-workout snack.
What makes these cereal bars even more appealing is that they can be kept in the fridge for when those snack attacks hit—allowing you to indulge guilt-free and keeping your energy levels up. Plus, they’re a fantastic option for families, offering an easy way to get kids involved in the kitchen. With such minimal prep and cooking time, these bars will quickly become a staple in your home.
Why You’ll Love This Recipe
- Simplicity: With only three main ingredients, these bars are incredibly easy to whip up, making them perfect for any skill level in the kitchen.
- Quick to Prepare: No baking means less time in the kitchen and more time enjoying your tasty creations.
- Customizable: You can easily tweak the recipe with your favorite add-ins or substitutions for a personalized treat.
- Healthier Snack Option: These bars are free from refined sugars and artificial ingredients, keeping your snack choices wholesome.
- Great for Meal Prep: Make a batch ahead of time and store them for quick snacks throughout the week.
- Family-Friendly: Kids will love helping to mix and shape the bars, making it a fun and engaging cooking experience.
What Makes This Recipe Special
This recipe stands out for its simplicity and the delightful combination of flavors. The star of the show, peanut butter, brings a creamy texture and rich, nutty flavor to the bars. Each bite is then balanced with the sweetness of honey, creating a perfect harmony between sweet and savory. The O-shaped oat breakfast cereal adds not only a satisfying crunch but also a great source of fiber, making these bars both delicious and nutritious. Optional roasted peanuts enhance the flavor and provide an extra crunch, turning each bite into a little moment of bliss.
The versatility of this recipe is another standout feature. Whether you prefer a chewy texture or a more crumbly one, you have the control over how the bars turn out by simply adjusting the amount of peanut butter or honey. This recipe is bound to be a crowd-pleaser, whether you’re serving them for an after-school snack or packing them for a hike.
Ingredients
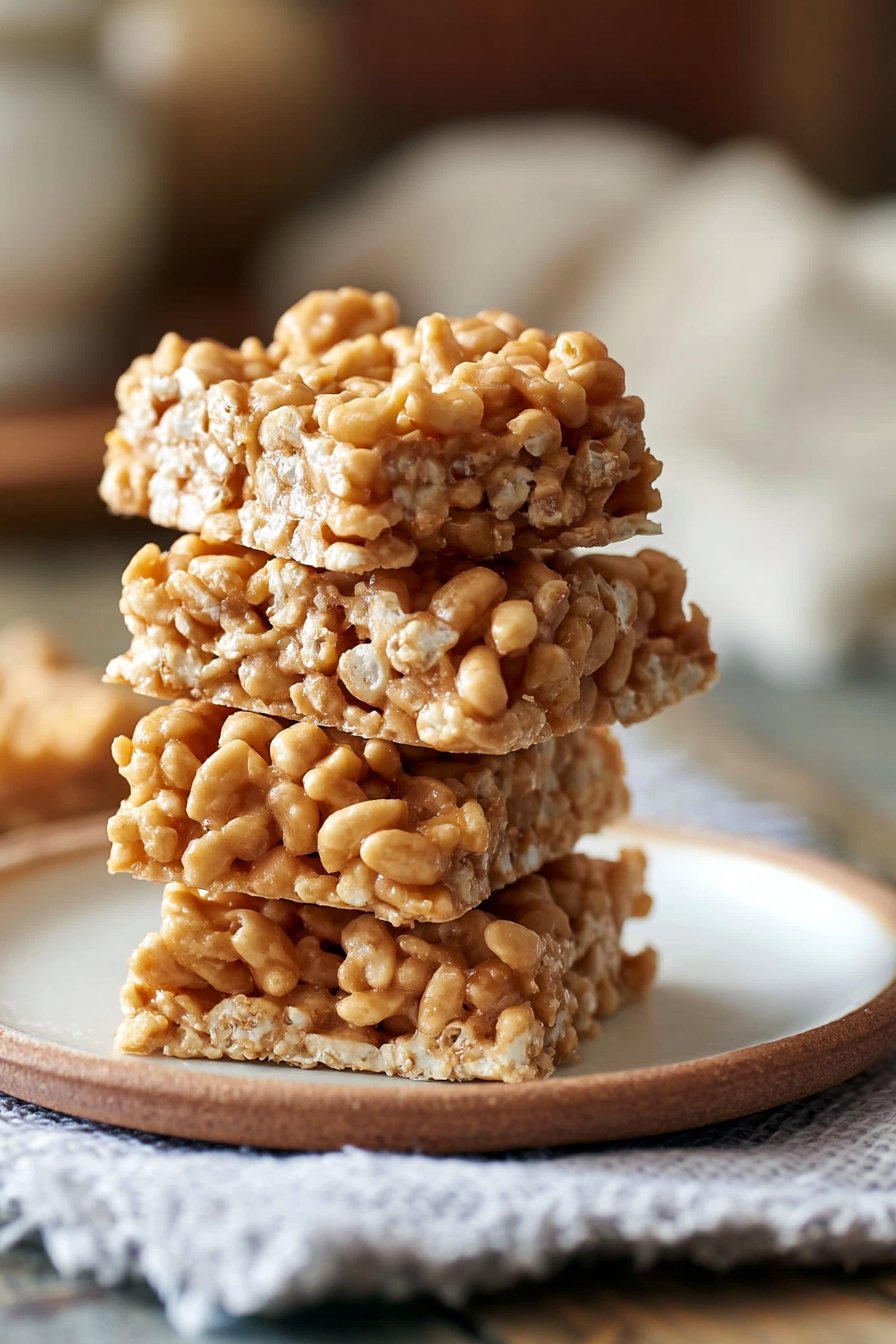
- 3 cups O-shaped oat breakfast cereal – This forms the base of our bars, providing a crunchy texture and a light flavor.
- 1/2 cup peanut butter – Creamy or chunky, peanut butter binds the ingredients together while adding its rich flavor.
- 1/2 cup honey – This natural sweetener not only adds sweetness but also helps to hold everything together.
- Optional: 1/2 cup roasted peanuts – For those who like an extra crunch and a boost of protein in their snack.
Ingredient Notes and Easy Substitutions
When selecting your ingredients, opt for natural peanut butter with minimal added sugars or oils for a healthier option. If you’re allergic to peanuts, you can easily substitute the peanut butter with almond butter or sunflower seed butter for a nut-free alternative. Honey is the go-to sweetener here, but maple syrup or agave nectar can replace it for a vegan-friendly option.
If you’re looking to experiment, feel free to add chocolate chips, dried fruit, or seeds for extra flavor and texture. These bars are forgiving and allow for creativity based on your personal preferences!
Instructions
- Prepare Your Pan: Begin by preparing an 8-inch square baking pan, lining it with parchment paper to make removing the bars a breeze later on.
- Mix the Cereal and Nuts: In a mixing bowl, measure out the O-shaped oat breakfast cereal. If you’re including roasted peanuts, add them to the bowl now and stir to combine.
- Heat the Peanut Butter and Honey: In a small saucepan, combine the peanut butter and honey. Heat over medium heat until the mixture begins to boil, then continue stirring for an additional minute.
- Combine with Cereal: Pour the hot mixture over the cereal and nuts, ensuring everything is well coated. Stir quickly to prevent any clumping.
- Transfer to Your Pan: Transfer the mixture into the prepared baking pan, using a spatula or your hands to press it down evenly. For a fun twist, you can also fill mini muffin tins for bite-sized treats.
- Chill: Cover the pan with plastic wrap or foil and place in the refrigerator for at least one hour to set.
- Cut into Squares: Once chilled, remove from the pan using the edges of the parchment paper. Cut into squares or bars, and enjoy!
Expert Tips for the Best Results
- Make sure to press down firmly when transferring the mixture to the pan; this helps the bars hold together better once set.
- For easier cutting, use a sharp knife dipped in hot water to slice the bars.
- If you’re making mini muffin tins, adjust the chill time as they may set faster.
Variations
- Chocolate Drizzled: After chilling, melt some dark chocolate and drizzle it over the top for an indulgent touch.
- Nut-Free Option: Use sunflower seed butter instead of peanut butter and omit the peanuts for a school-friendly snack.
- Fruity Addition: Add 1/2 cup of dried berries or chopped dates to the cereal mixture for a sweet burst.
- Spiced Up: Incorporate a teaspoon of cinnamon or a pinch of sea salt for added flavor depth.
- Granola Bars: Swap some of the cereal for granola for a different texture and added flavors.
Serving Suggestions
These 3 Ingredient, No-Bake Cereal Bars are delicious on their own but can also be enjoyed alongside a variety of accompaniments. Pair them with a glass of milk, a steaming cup of tea, or a smoothie for a nourishing breakfast. They also make an excellent treat served at parties, alongside a fruit platter or mixed nuts, or drizzled with yogurt for an innovative dessert.
Storage and Reheating
Store the bars in an airtight container in the refrigerator for up to a week. For longer shelf life, you can freeze them. Simply wrap each bar individually and place them in a freezer-safe bag. Let them thaw in the fridge or enjoy them frozen for a refreshing snack on a hot day.
Common Mistakes to Avoid
- Not pressing the mixture down firmly enough: This can lead to crumbly bars that fall apart easily.
- Using a high heat: Boiling the peanut butter and honey too aggressively can change the texture of the mixture, making it too hard.
- Skipping the chill time: Allowing the bars to set in the fridge is crucial for them to hold their shape, so don’t rush this step.
FAQ
Can I use other types of cereal for this recipe?
Absolutely! While O-shaped oat breakfast cereal gives a great texture, you can experiment with other cereals. Just make sure they have a similar light, crunchy texture.
Are these bars gluten-free?
If you use certified gluten-free cereal, these bars can easily be made gluten-free. Always check packaging to ensure it meets your dietary needs.
Can I make these bars vegan?
Yes! Replace the honey with maple syrup or agave nectar to make these bars vegan-friendly.
How do I know when they are set?
The bars should be firm to the touch and hold their shape when you take them out of the pan after chilling.
Can I freeze these bars?
Yes! These bars freeze really well. Just make sure to individually wrap each bar for optimal freshness.
How should I adjust the recipe for larger batches?
You can easily double or triple the recipe! Just make sure to use a larger baking pan and adjust the chill time as needed.
Conclusion
The 3 Ingredient, No-Bake Cereal Bars are not only easy to make but also a perfect blend of healthiness and taste that appeals to both kids and adults. With their delightful crunch, nutty flavor, and natural sweetness, they’re a snack you can feel good about enjoying. So whether you’re facing a busy week or in need of a wholesome treat, these bars are the answer. Gather your ingredients, whip up a batch, and share them with loved ones—everyone will appreciate this delightful addition to their snack repertoire! Don’t forget to save or share the recipe for later!
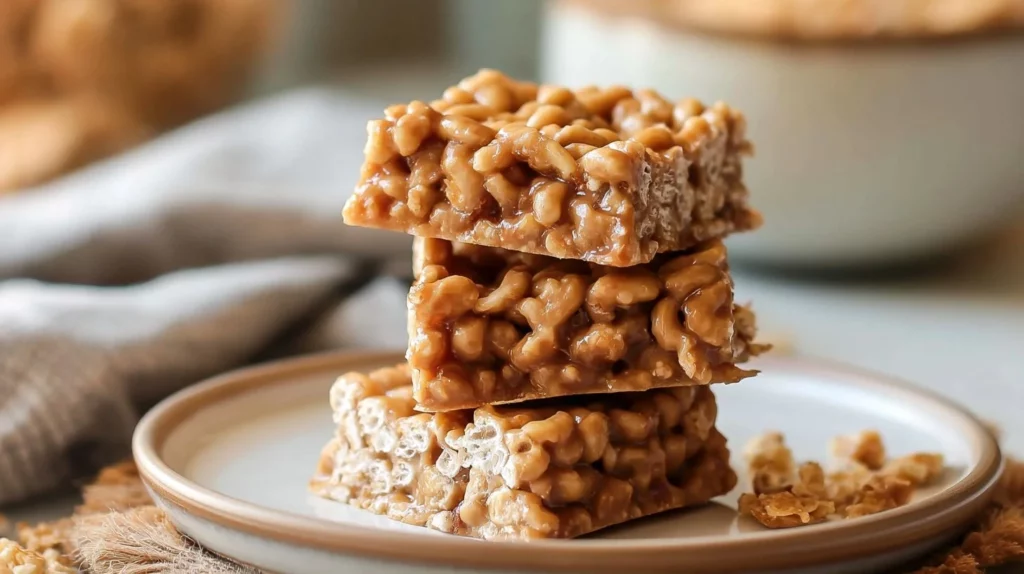
3 Ingredient No-Bake Cereal Bars
Ingredients
Method
- Prepare an 8-inch square baking pan by lining it with parchment paper.
- In a mixing bowl, measure out the O-shaped oat breakfast cereal. If using roasted peanuts, add them and stir to combine.
- In a small saucepan, combine the peanut butter and honey. Heat over medium heat until boiling, then stir for an additional minute.
- Pour the hot mixture over the cereal and nuts, ensuring everything is well coated. Stir quickly to prevent clumping.
- Transfer the mixture to the prepared baking pan, pressing it down evenly with a spatula or your hands.
- Cover with plastic wrap or foil and refrigerate for at least one hour to set.
- Once chilled, remove from the pan using the parchment paper edges. Cut into squares or bars.