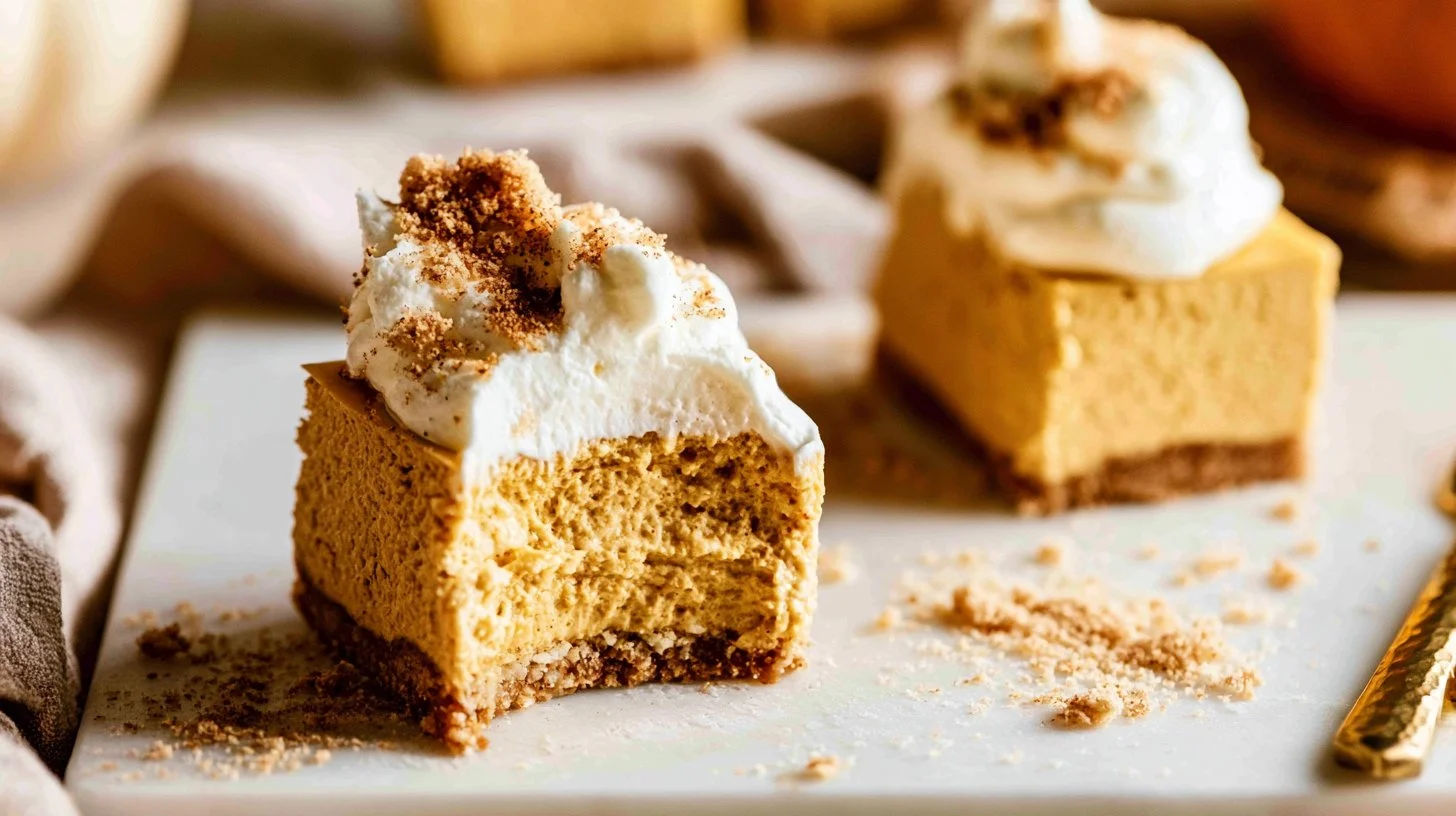
No Bake Pumpkin Cheesecake Bars are the ultimate fall dessert that combines the delicious flavors of pumpkin and cream cheese in a creamy, no-bake format. This dessert is rich in taste yet refreshingly light in texture, making it perfect for gatherings, family dinners, or simply as a sweet treat at home. The combination of a crunchy graham cracker crust with a velvety pumpkin cheesecake filling creates a delightful contrast that everyone will love. Plus, they are so easy to make that you might find yourself whipping them up time and again, especially when the leaves change colors and the scent of pumpkin spice fills the air.
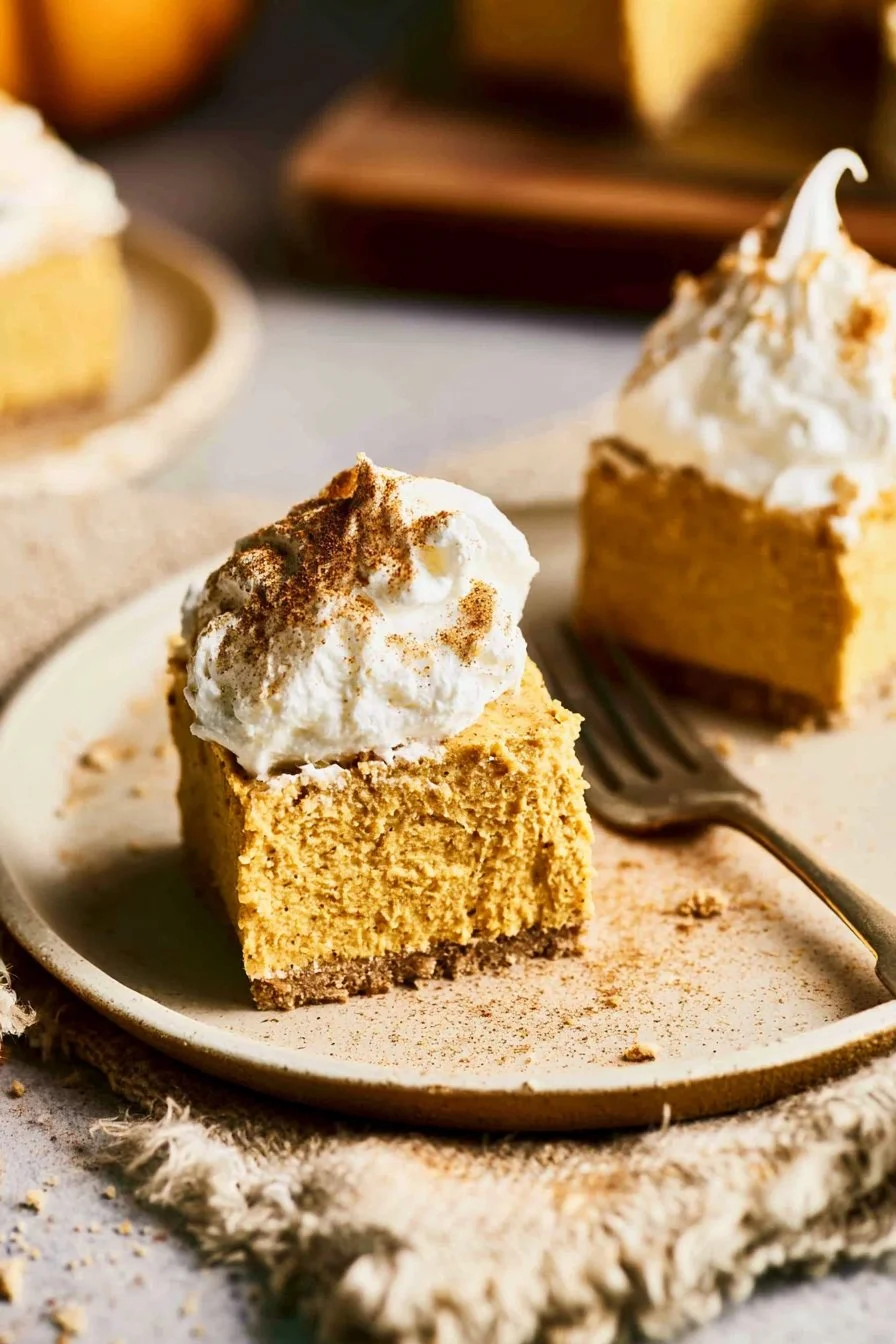
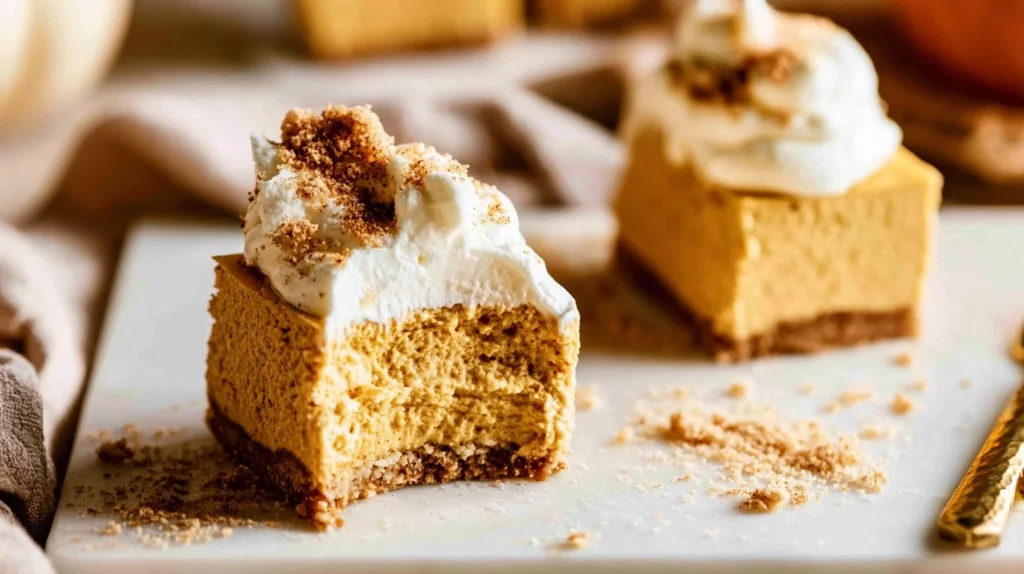
Perfect for holidays like Thanksgiving or Halloween, these bars are not only delicious but also a feast for the eyes, beautifully adorned with whipped cream swirls and a sprinkle of pumpkin spice. Whether you’re entertaining guests or enjoying a cozy night in, these No Bake Pumpkin Cheesecake Bars will quickly become a seasonal favorite.
Why You’ll Love This Recipe
- No Baking Required: You can create a delicious dessert without turning on the oven, making it perfect for warmer days or those who want to avoid extra heat in the kitchen.
- Rich Flavor: The warm spices combined with creamy pumpkin make each bite indulgent and satisfying.
- Easy Preparation: The recipe is straightforward, making it accessible even for beginner bakers.
- Make-Ahead Friendly: You can prepare these bars in advance, allowing you to enjoy them without last-minute stress.
- Versatile Serving Options: They work wonderfully as a stand-alone dessert or paired with various toppings and sides.
What Makes This Recipe Special
These No Bake Pumpkin Cheesecake Bars stand out not just for their flavor but for the perfect blend of textures. The graham cracker crust offers a satisfying crunch, while the cheesecake filling is luxuriously creamy and spiced just right. With fresh pumpkin puree and a touch of vanilla and lemon juice, these bars elevate traditional pumpkin flavors to new heights. The whipped cream topping adds an airy lightness, making this dessert a well-rounded delight that’s perfect for any occasion.
Ingredients
- 4 tablespoons brown sugar
- 1 teaspoon pumpkin spice
- 1/4 teaspoon sea salt
- 2 1/3 cups graham cracker crumbs
- 2/3 cup butter, melted
- 1 cup heavy whipping cream, cold
- 16 oz cream cheese, room temperature
- 3/4 cup granulated sugar
- 1/8 teaspoon sea salt
- 2 teaspoons pure vanilla extract
- 1 teaspoon lemon juice, freshly squeezed
- 1 cup pumpkin puree
- 1 teaspoon pumpkin spice (more if desired)
- 1/3 cup powdered sugar
This recipe uses familiar ingredients available at your local grocery store, making it simple to whip up a delightful treat when cravings hit!
Ingredient Notes and Easy Substitutions
- Pumpkin Puree: Canned pumpkin puree is a convenient option if you don’t want to make your own. Be sure to use 100% pumpkin and not pumpkin pie filling.
- Cream Cheese: Ensure the cream cheese is at room temperature for a smooth texture—this is crucial for avoiding lumps in your filling.
- Whipping Cream: For a non-dairy option, use coconut cream for a lighter yet still creamy texture.
- Graham Crackers: If you’re gluten-free, opt for gluten-free graham crackers or crushed nuts for the crust.
Instructions
- Prepare Your Pan: Begin by preparing an 8-inch or 9-inch square baking pan by lining it with parchment paper for easy removal.
- Make the Crust: In a large bowl, mix together the graham cracker crumbs, brown sugar, sea salt, and pumpkin spice. Add the melted butter to the mixture and stir until well combined. Pack this crust mixture tightly into the bottom of the prepared pan and set aside.
- Whip the Cream: In a separate bowl, beat the heavy whipping cream until stiff peaks form, then set aside in the fridge while you prepare the cheesecake filling.
- Mix the Filling: In another bowl, beat the cream cheese, granulated sugar, and 1/8 teaspoon sea salt until smooth. Next, add the vanilla extract, lemon juice, pumpkin puree, and pumpkin spice. Beat until everything is thoroughly incorporated.
- Fold in the Whipped Cream: Carefully fold the whipped cream into the pumpkin cheesecake mixture until no streaks remain, ensuring a light and fluffy texture.
- Spread It Out: Pour the cheesecake mixture over the crust and smooth the top with a spatula.
- Chill: Refrigerate for at least 8 hours or overnight to allow the flavors to meld and the cheesecake to set properly.
- Serve: To serve, lift the cheesecake out of the pan using the parchment paper, trim any uneven edges, and cut into 12 bars. For an added touch, whip the remaining cream with the powdered sugar and vanilla extract until stiff peaks form, pipe swirls on top of each bar, and sprinkle with pumpkin spice.
Expert Tips for the Best Results
- Proper Chilling: Be sure to refrigerate the bars for the full 8 hours or overnight; this isn’t just for flavor— it helps the texture firm up perfectly.
- Cream Cheese Consistency: Your cream cheese should be at room temperature—this avoids clumps and results in a smoother filling.
- Presentation Matters: Consider adding a drizzle of caramel sauce on top before serving for extra flair and flavor.
Variations
- Chocolate Pumpkin Cheesecake Bars: Add melted chocolate to the cream cheese mixture for a chocolate pumpkin twist.
- Nutty Crust: Substitute part of the graham cracker crumbs with finely chopped nuts for added flavor and crunch.
- Spiced Whipped Cream: Infuse the whipped cream with a dash of cinnamon or nutmeg for a seasonal kick.
Serving Suggestions
Serve your No Bake Pumpkin Cheesecake Bars with a side of freshly whipped cream, a drizzle of caramel or chocolate sauce, or a scoop of vanilla ice cream. They pair beautifully with a warm cup of spiced chai tea or hot apple cider for a comforting fall experience.
Storage and Reheating
Store any leftovers in an airtight container in the refrigerator for up to a week. These bars are best enjoyed cold, straight from the fridge, which retains their creamy texture. They also make for an ideal make-ahead dessert, so feel free to prepare them up to a week in advance!
Common Mistakes to Avoid
- Skipping the Chill Time: Don’t rush this step! Chilling is essential for the bars to set properly.
- Overmixing the Cream: When folding the whipped cream into the filling, do it gently to avoid deflating the light texture you’ve created.
FAQ
Can I make these bars gluten-free?
Yes! Use gluten-free graham crackers or nuts for the crust to keep the recipe gluten-free.
How do I know when the cheesecake bars are set?
The center should be firm to the touch but still slightly jiggle when shaken gently. They will firm up further as they chill.
Can I use homemade pumpkin puree?
Absolutely! If you have the time, homemade pumpkin puree is delicious and can elevate the flavor even more.
How long do these bars last in the fridge?
Properly stored, the No Bake Pumpkin Cheesecake Bars will last for about a week in the fridge.
Can I freeze these cheesecake bars?
Yes! You can freeze the bars for up to 3 months. Wrap them tightly in plastic wrap and then in foil for best results. Thaw them in the fridge overnight before serving.
Conclusion
These No Bake Pumpkin Cheesecake Bars are not just a treat; they encapsulate the essence of fall with every bite. Their creamy texture and rich flavors make them an irresistible dessert that everyone will enjoy. So gather your ingredients, and take the plunge into this delightful recipe—your taste buds will thank you! Don’t forget to share your creations with family and friends, and maybe even save this recipe for your next family gathering. Happy baking!
No Bake Pumpkin Cheesecake Bars
Ingredients
Method
- Begin by preparing an 8-inch or 9-inch square baking pan by lining it with parchment paper for easy removal.
- In a large bowl, mix together the graham cracker crumbs, brown sugar, sea salt, and pumpkin spice. Add the melted butter and stir until well combined. Pack this mixture tightly into the bottom of the prepared pan.
- In a separate bowl, beat the heavy whipping cream until stiff peaks form, then set aside in the fridge.
- In another bowl, beat the cream cheese, granulated sugar, and 1/8 teaspoon sea salt until smooth. Add the vanilla extract, lemon juice, pumpkin puree, and pumpkin spice. Beat until thoroughly incorporated.
- Fold the whipped cream into the pumpkin cheesecake mixture until no streaks remain.
- Pour the cheesecake mixture over the crust and smooth the top with a spatula.
- Refrigerate for at least 8 hours or overnight to allow the flavors to meld and the cheesecake to set.
- Lift the cheesecake out of the pan using the parchment paper, trim any uneven edges, and cut into 12 bars.
- For an added touch, whip the remaining cream with the powdered sugar and vanilla extract, pipe swirls on top of each bar, and sprinkle with pumpkin spice.