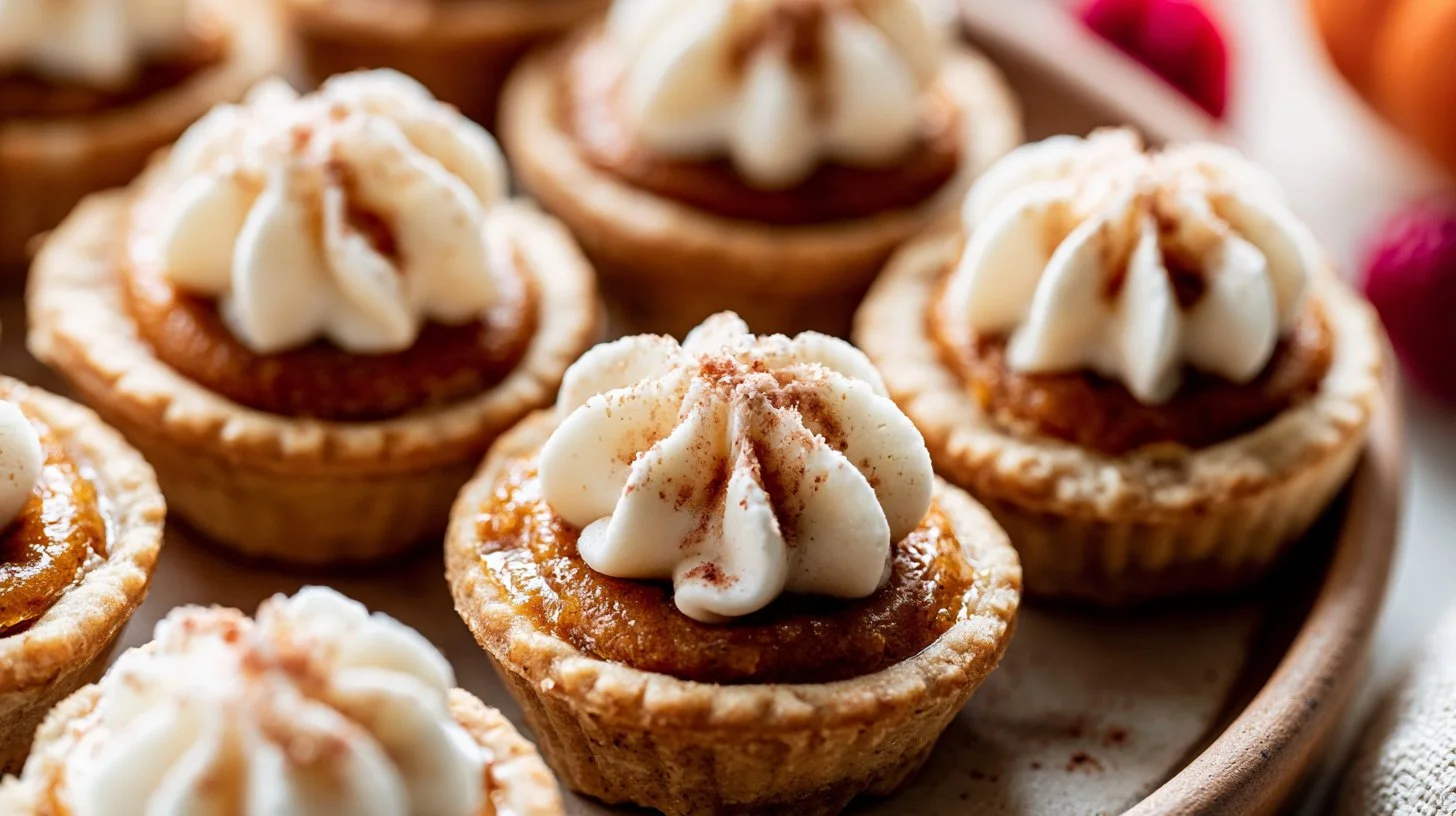
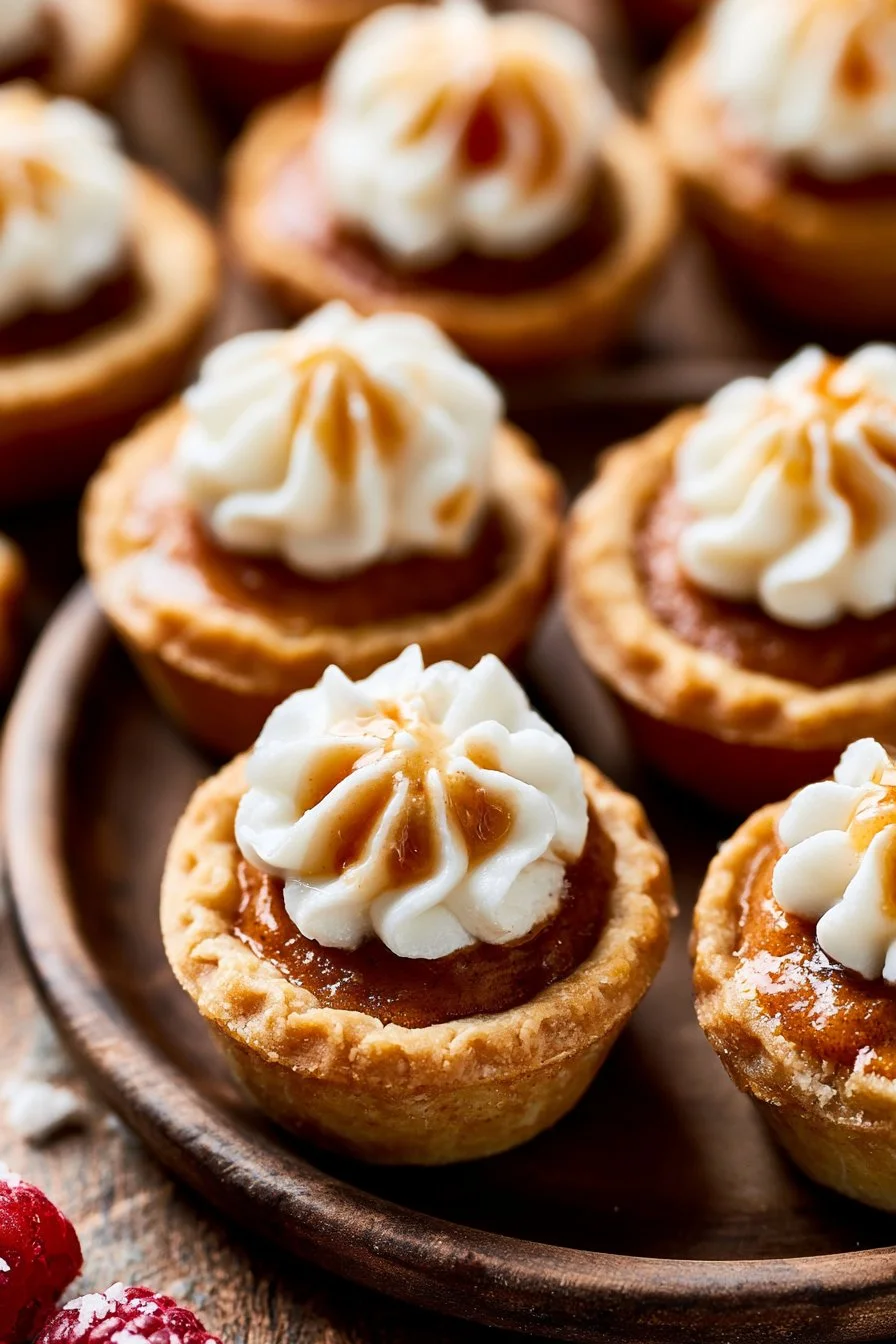
Mini Pumpkin Pies are the perfect bite-sized treats that capture the essence of fall in each delicious morsel. With their rich pumpkin filling, warm spices, and flaky crust, these mini delights evoke a sense of nostalgia and comfort, making them irresistible. They’re the ideal dessert for any autumn gathering, holiday celebration, or cozy family dinner, bringing warm flavors and smiles to every occasion. Imagine serving these at your next get-together, everyone savoring the sweet aroma and indulging in their own little pie!
Not only do these Mini Pumpkin Pies deliver on flavor, but their charming size makes them perfect for sharing—allowing your guests to enjoy them without any guilt! Plus, they can easily be made ahead of time, giving you more opportunity to bask in the joy of the season.
Why You’ll Love This Recipe
- Flavorful Delight: The combination of pumpkin puree, brown sugar, and warm spices creates a luscious filling that sings of autumn.
- Perfectly Portable: Their mini size makes them easy to transport and serve—ideal for potlucks or holiday parties.
- Customizable: With simple ingredient adjustments, you can tailor them to suit dietary preferences or flavors.
- Great for Meal Prep: These pies can be stored and enjoyed later, allowing you to make them in advance for hassle-free entertaining.
- Family-Friendly: Kids love these mini treats! Their small size and sweet flavor are sure to appeal to everyone, young and old.
What Makes This Recipe Special
This recipe stands out not only for its taste but also for its simplicity and charm. The main star here is the pumpkin puree, which lends a natural sweetness and earthy depth to the pies. Combined with packed brown sugar, heavy cream, and spices like ground cinnamon and pumpkin pie spice, the filling is both creamy and flavorful. The addition of a small pinch of black pepper adds unexpected warmth, rounding out the flavors without being overpowering. The flaky crust, whether you choose a pre-made crust or whip up a homemade All Butter Pie Crust, creates a delightful contrast to the smooth filling, offering a satisfying texture in every bite.
Ingredients
- 2 unbaked discs of Pie Crust (what I used) or All Butter Pie Crust*
- 1 and 1/4 cups (285g) pumpkin puree*
- 3/4 cup (150g) packed light or dark brown sugar
- 1/2 cup (120ml) heavy cream
- 1/4 cup (60ml) whole milk
- 1 large egg
- 1/4 teaspoon salt
- 1 teaspoon ground cinnamon
- 1 teaspoon store-bought or homemade pumpkin pie spice*
- Small pinch black pepper (optional—see note)
Ingredient Notes and Easy Substitutions
- Pie Crust: You can use a store-bought crust for convenience or make a homemade All Butter Pie Crust for an extra touch of flavor. If you want to try a gluten-free option, gluten-free pie dough is widely available and will work just as well.
- Pumpkin Puree: Canned pumpkin puree is a time-saver, but if you’re feeling adventurous, you can roast fresh pumpkin and puree it for a more intense flavor.
- Cream and Milk: For a lighter version, you can substitute half-and-half or evaporated milk for the heavy cream.
- Brown Sugar: Light or dark brown sugar works; dark brown will provide a richer flavor.
- Spices: Feel free to adjust the spices according to your preference. A bit of nutmeg or ginger can also enhance the flavor profile.
Instructions
I like to make sure my pie dough is prepared before I begin the mini pies. Make pie dough the night before because it needs to chill in the refrigerator for at least 2 hours before using.
-
In a large bowl with a handheld or stand mixer fitted with a whisk attachment—or simply using a whisk and mixing bowl—beat/whisk the pumpkin, brown sugar, heavy cream, milk, egg, salt, cinnamon, pumpkin pie spice, and black pepper together (on medium high speed if using a mixer) until completely combined, about 2 minutes. You’ll have about 3 cups of filling. Cover and refrigerate the filling until ready for use.
-
Preheat your oven to 375°F (191°C) and grease two 24-count mini muffin pans, ideally with nonstick spray. If you only have one mini muffin pan, bake the pies in batches.
-
Working with one chilled pie dough at a time, roll the dough out on a floured work surface into a large 12-inch circle. You may need to use your hands to mold any cracking edges back together if necessary. Cut out rounds using a 2.5 inch cookie cutter (a 1/3 cup measuring cup works too, as it’s about the same size).
-
You should get about 24 rounds per pie crust. If needed, re-roll the scraps as you work quickly, as the dough can become delicate at room temperature. Repeat with the second chilled pie dough for a total of about 48 rounds.
-
Place the dough rounds into the greased mini muffin pan(s). Gently press the dough into the bottom and up the sides of each crevice.
-
Evenly spoon the cold filling into each unbaked crust, filling them to the top.
-
Bake the mini pies for about 21–25 minutes, or until the center is just set and the edges are lightly browned. Allow them to cool for 5 minutes before delicately removing them from the pan. If well-greased, they should pop right out with the help of a spoon.
-
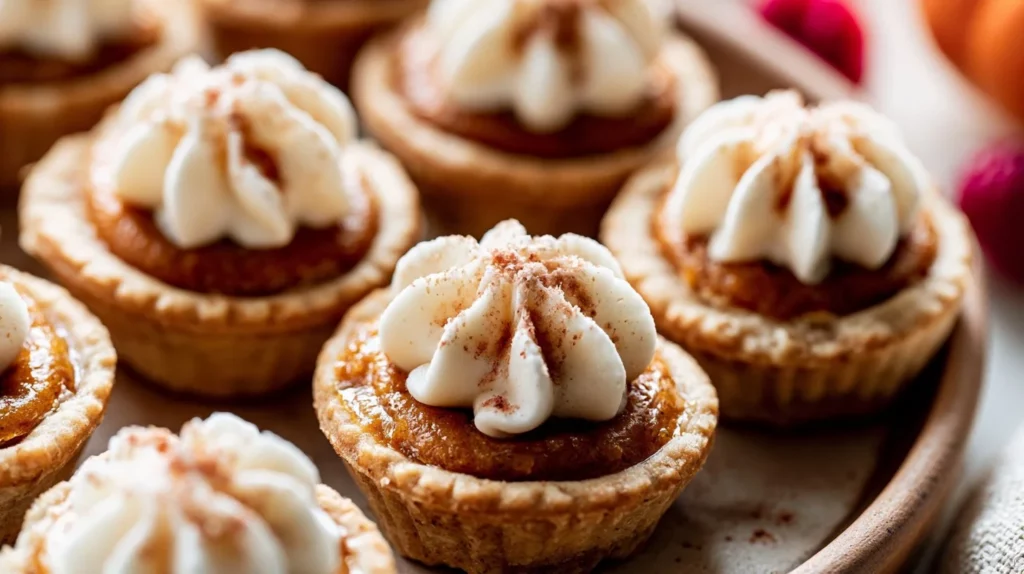
Cool the pies completely, then serve at room temperature or refrigerate until chilled. The filling will deflate slightly as they cool. Top with whipped cream if desired, which adds a lovely finishing touch.
-
Store any leftover pies tightly covered in the refrigerator for up to 5 days.
Expert Tips for the Best Results
- Chill Your Dough: Ensure your pie crust is chilled before rolling for the best texture. It will roll out more easily and prevent shrinking during baking.
- Avoid Overfilling: Leave a little space at the top of each crust; the filling will puff slightly as it bakes.
- Bake Evenly: Rotate the pans halfway through baking for even golden brown color and texture.
- Check the Center: If unsure about doneness, gently jiggle the pan; the filling should be set but still slightly wobbly in the center.
Variations
- Chocolate Pumpkin Mini Pies: Add 1/4 cup of cocoa powder to the filling for a chocolate twist.
- Maple Cream Mini Pies: Swap brown sugar for pure maple syrup in the filling for a unique flavor profile.
- Nutty Pumpkin Mini Pies: Incorporate finely chopped pecans or walnuts into the crust or filling for a delightful crunch.
- Spicy Pumpkin Pies: Increase the amount of spices or add a touch of cayenne for a hint of heat.
- Vegan Mini Pumpkin Pies: Replace heavy cream and milk with coconut milk and the egg with a flaxseed egg or applesauce for a delicious plant-based option.
Serving Suggestions
Mini Pumpkin Pies are delightful on their own, but you can enhance their presentation and flavor with various accompaniments. Serve them warm or chilled with a generous dollop of whipped cream or a scoop of vanilla ice cream. Sprinkle with some crushed gingersnap cookies or pecans to add texture. For a festive touch, consider garnishing with light dusting of powdered sugar, drizzled caramel sauce, or sugared cranberries for both beauty and sweetness.
Storage and Reheating
Leftovers can be covered tightly and stored in the refrigerator for up to 5 days. They can be enjoyed cold straight from the fridge, or if you prefer them warm, preheat the oven to 350°F (175°C), place the pies on a baking sheet, and warm them for about 5-7 minutes until heated through.
These mini treats can also be made ahead, making them a great addition to your meal prep. Just keep the filling and crust separate until you’re ready to bake.
Common Mistakes to Avoid
- Skipping the Chill: Don’t skip refrigerating the pie dough as it prevents shrinkage and helps create a flaky crust.
- Overmixing the Filling: Overbeating the filling can incorporate too much air, causing the mini pies to puff up excessively during baking. Mix until just combined.
- Not Greasing the Pan: A well-greased muffin pan ensures that your mini pies pop out easily without breaking.
FAQ
Can I use store-bought pumpkin puree?
Absolutely! Store-bought pumpkin puree saves time and still tastes delicious. Just make sure to choose 100% pure pumpkin without added ingredients.
Can I make these mini pies in advance?
Yes! You can prepare the filling and pie crust ahead of time. Assemble the pies just before baking or bake them in advance and store in the refrigerator.
Can I freeze the mini pumpkin pies?
Yes! These pies freeze well. Allow them to cool completely, then place them in an airtight container or freezer bag. Thaw in the refrigerator when ready to eat.
What can I do if my filling is too watery?
If your filling seems too watery, try letting it sit in the mixing bowl for a few minutes to allow some of the moisture to evaporate before filling the crusts.
How can I tell when the mini pies are done baking?
The mini pies are done when the edges are lightly browned and the center is just set. It may jiggle slightly, but it shouldn’t be liquidy.
How do I store leftover mini pies?
Store any leftover pies in an airtight container or tightly wrapped in plastic wrap in the refrigerator for up to 5 days.
Conclusion
Mini Pumpkin Pies are a delightful, fun-sized dessert that embodies the warmth of fall flavors in a flaky crust. They are simple to make, perfect for sharing, and can be tailored to fit various tastes and dietary needs. Whether you’re hosting a gathering or simply want a sweet treat to enjoy at home, these mini pies are sure to become a beloved staple. So gather your ingredients, roll up your sleeves, and treat yourself to this charming and delicious dessert—your taste buds will thank you! Happy baking!
Mini Pumpkin Pies
Ingredients
Method
- Prepare pie dough the night before and chill it in the refrigerator for at least 2 hours.
- In a large bowl, beat/whisk together pumpkin puree, brown sugar, heavy cream, milk, egg, salt, cinnamon, pumpkin pie spice, and black pepper until well combined.
- Cover and refrigerate the filling until ready for use.
- Preheat your oven to 375°F (191°C) and grease two 24-count mini muffin pans.
- Roll out one chilled pie dough into a large 12-inch circle on a floured surface.
- Cut out rounds using a 2.5 inch cookie cutter or a 1/3 cup measuring cup to get about 24 rounds.
- Repeat with the second chilled pie dough for a total of about 48 rounds.
- Place the dough rounds into the greased mini muffin pan(s) and press into the bottom and up the sides.
- Spoon the cold filling into each unbaked crust, filling them to the top.
- Bake the mini pies for about 21–25 minutes, until the center is set and the edges are lightly browned.
- Allow them to cool for 5 minutes before removing from the pan.
- Cool completely, then serve at room temperature or refrigerate until chilled.